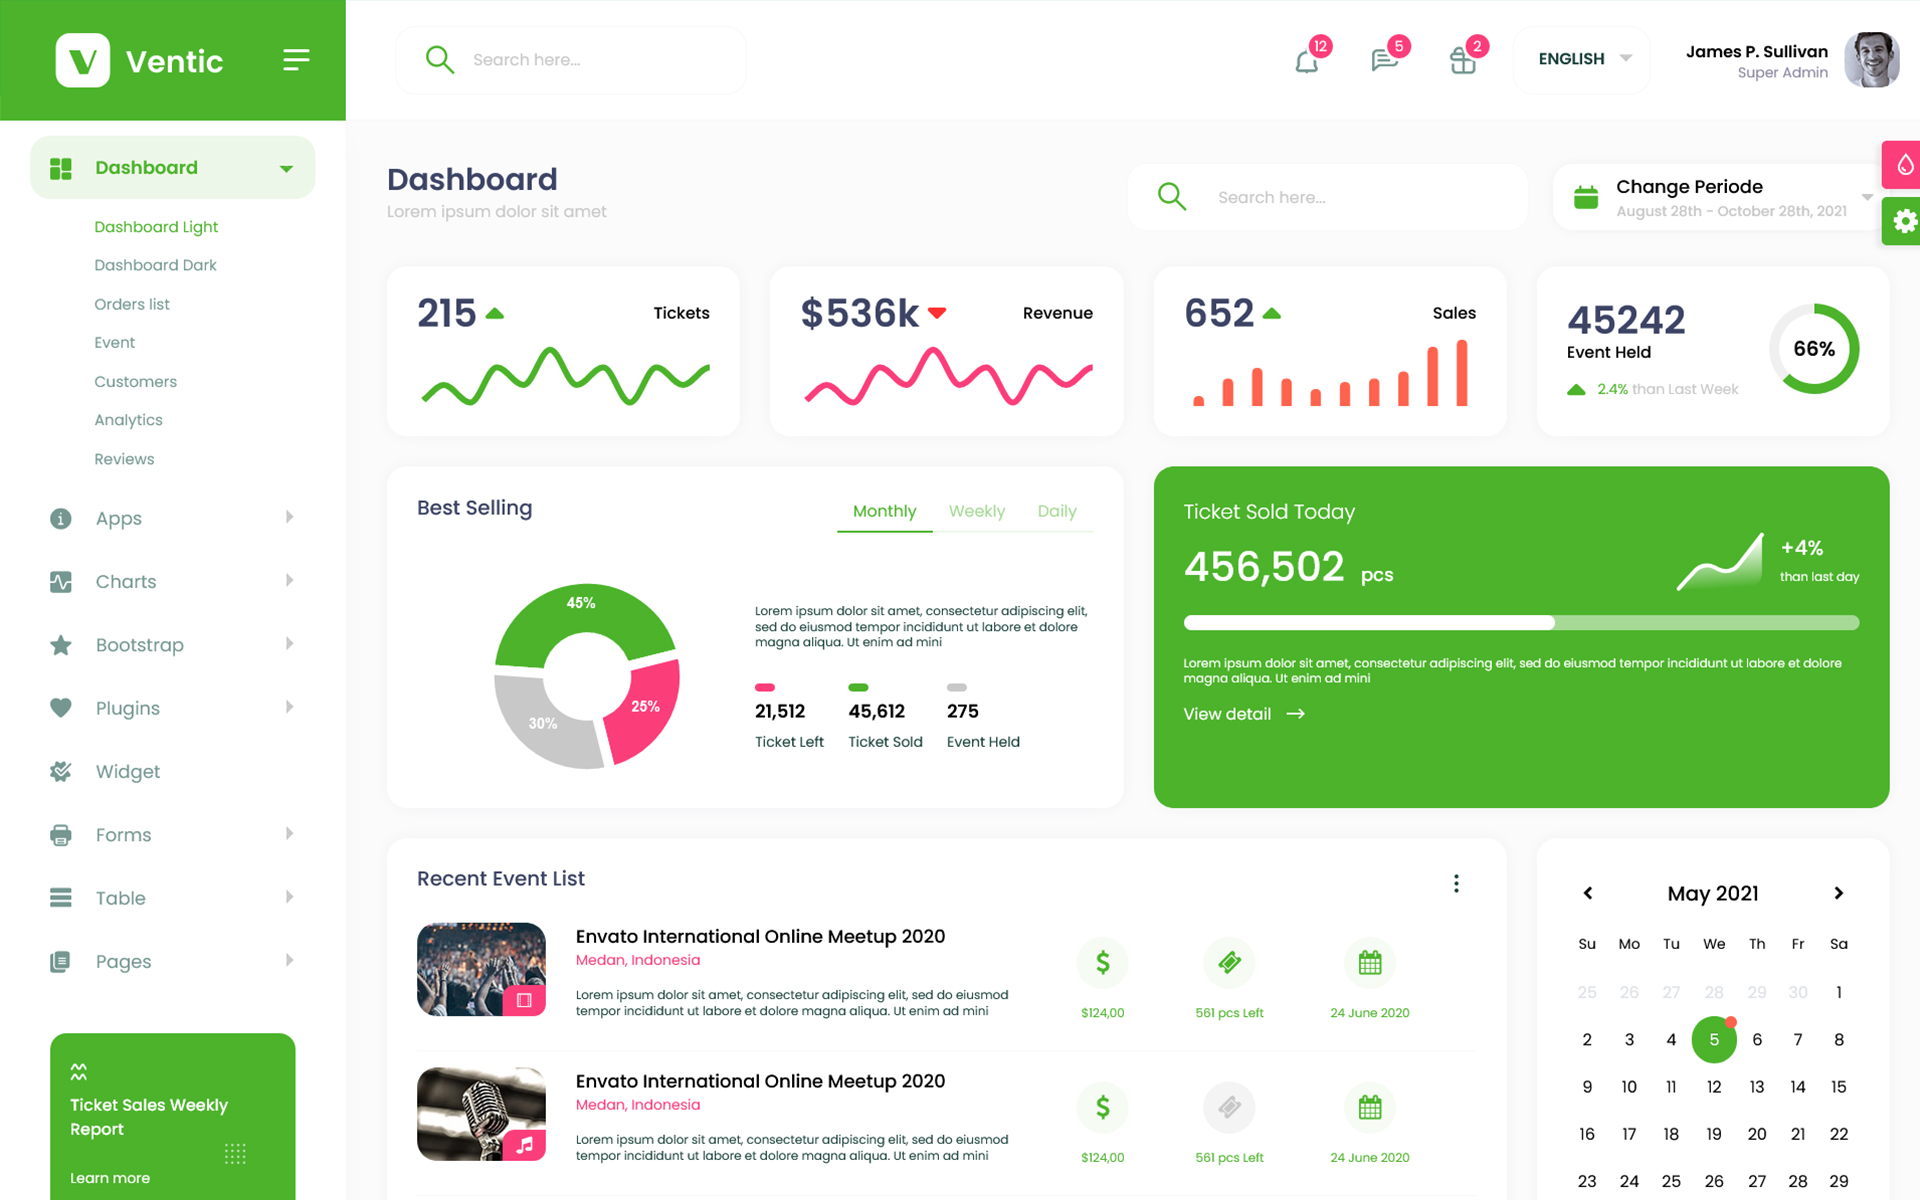
Ventic
Ventic : React Redux Ticketing Admin Template
Ventic is a popular open source WebApp template for admin dashboards and admin panels. It utilizes all of the react-bootstrap components in design and re-styles many commonly used plugins to create a consistent design that can be used as a user interface for backend applications.
Thank you for purchasing this React template.
If you like this template, Please support us by rating this template with 5 stars
React.JS Installation & Setup -
1.- Install npm
It will create 'node_module' folder in this all dependency files will be install with this command.
npm install
npm install
2.- Run Project
With is command file will be compiled and it will be loaded on local server `http://localhost:3000`.
npm start
npm start
3.- Production Build
Builds the app for production to the `build` folder. Run the following command in your terminal
npm run build
4.- Note:
To get more help on the React.js checkout React
4.- Further help
You can learn more in the Create React App Documentation To learn React, check out the React Documentation.
Sass Compile -
1.- Install Node.js
To compile Sass via the command line first, we need to install node.js. The easiest way is downloading it from the official website nodejs.org open the package and follow the wizard.
2.- Initialize NPM
NPM is the Node Package Manager for JavaScript. NPM makes it easy to install and uninstall third party packages. To initialize a Sass project with NPM, open your terminal and CD (change directory) to your project folder.
npm init

Once in the correct folder, run the command npm init. You will be prompted to answer several questions about the project, after which NPM will generate a package.json file in your folder.
3.- Install Node-Sass
Node-sass is an NPM package that compiles Sass to CSS (which it does very quickly too). To install node-sass run the following command in your terminal: npm install node-sass
npm install node-sass
4.- Write Node-sass Command
Everything is ready to write a small script in order to compile Sass. Open the package.json file in a code editor. You will see something like this:
In the scripts section add an scss command
"scripts": {
  "sass": "node-sass --watch src/scss/main.scss src/css/style.css --source-map src/css/style.css.map"
},
5.- Run the Script
To execute our one-line script, we need to run the following command in the terminal: npm run sass
npm run sass
Folder Directories -
- public
- index.html
- src
- context
- ThemeContext.js
- ThemeDemo.js
- css
- icons
- avasta
- feather
- flaticon
- font-awesome-old
- helveticaNeue
- icomoon
- line-awesome
- material-design-iconic-font
- simple-line-icons
- themify-icons
- images
- avatar
- big
- browser
- card
- contact
- demo
- pattern
- product
- profile
- tab
- table
- jsx
- components
- AppsMenu
- bootstrap
- charts
- chatBox
- Dashboard
- Forms
- PluginsMenu
- table
- layouts
- nav
- Header.js
- NavHader.js
- SideBar.js
- ChatBox
- EventSidebar.js
- Footer.js
- PageTitle.js
- Setting.js
- nav
- pages
- Error400.js
- Error403.js
- Error404.js
- Error500.js
- Error503.js
- ForgotPassword.js
- LockScreen.js
- Login.js
- Registration.js
- Widget.js
- index.js
- components
- scss
- abstracts
- base
- components
- app
- charts
- forms
- ico
- map
- tables
- uc
- ui
- widget
- layout
- footer
- header
- rtl
- sidebar
- theme
- typography
- version-dark
- version-transparent
- pages
- main.scss
- services
- AuthService.js
- AxiosInstance.js
- PostsService.js
- store
- actions
- reducers
- selectors
- store.js
- vendor
- animate
- aos
- bootstrap-select
- bootstrap-v4-rtl
- deznav
- metismenu
- perfect-scrollbar
- App.js
- index.js
- context
- package.json
Theme Features -
Layout is controlled by settings object Layout Settings inside public/index.html
<!-- Default layout  -->
<body
 data-typography="poppins"
 data-theme-version="light"
 data-layout="vertical"
 data-nav-headerbg="color_1"
 data-headerbg="color_1"
 data-sidebar-style="full"
 data-sidebarbg="color_1"
 data-sidebar-position="fixed"
 data-header-position="fixed"
 data-container="wide"
 direction="ltr"
 data-primary="color_1"
>
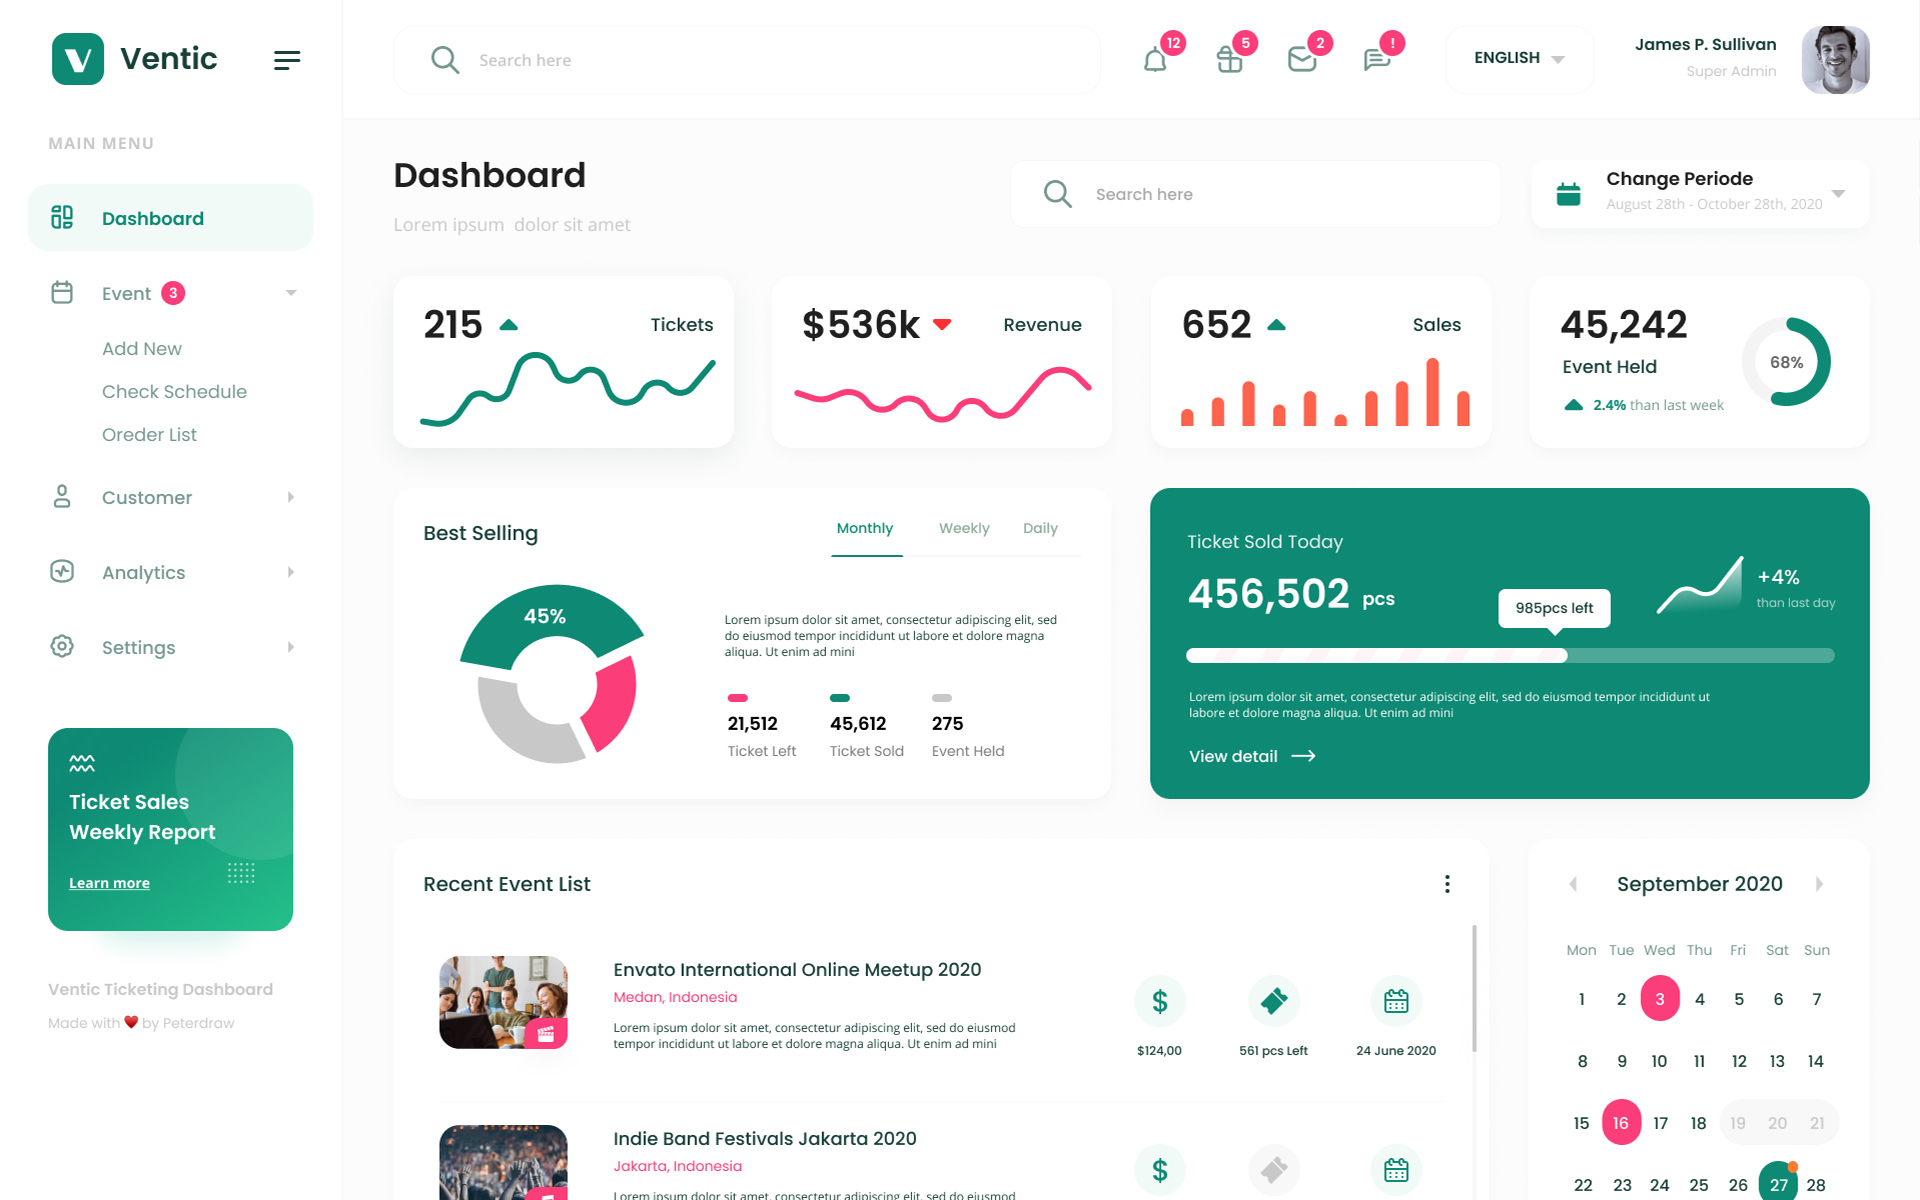
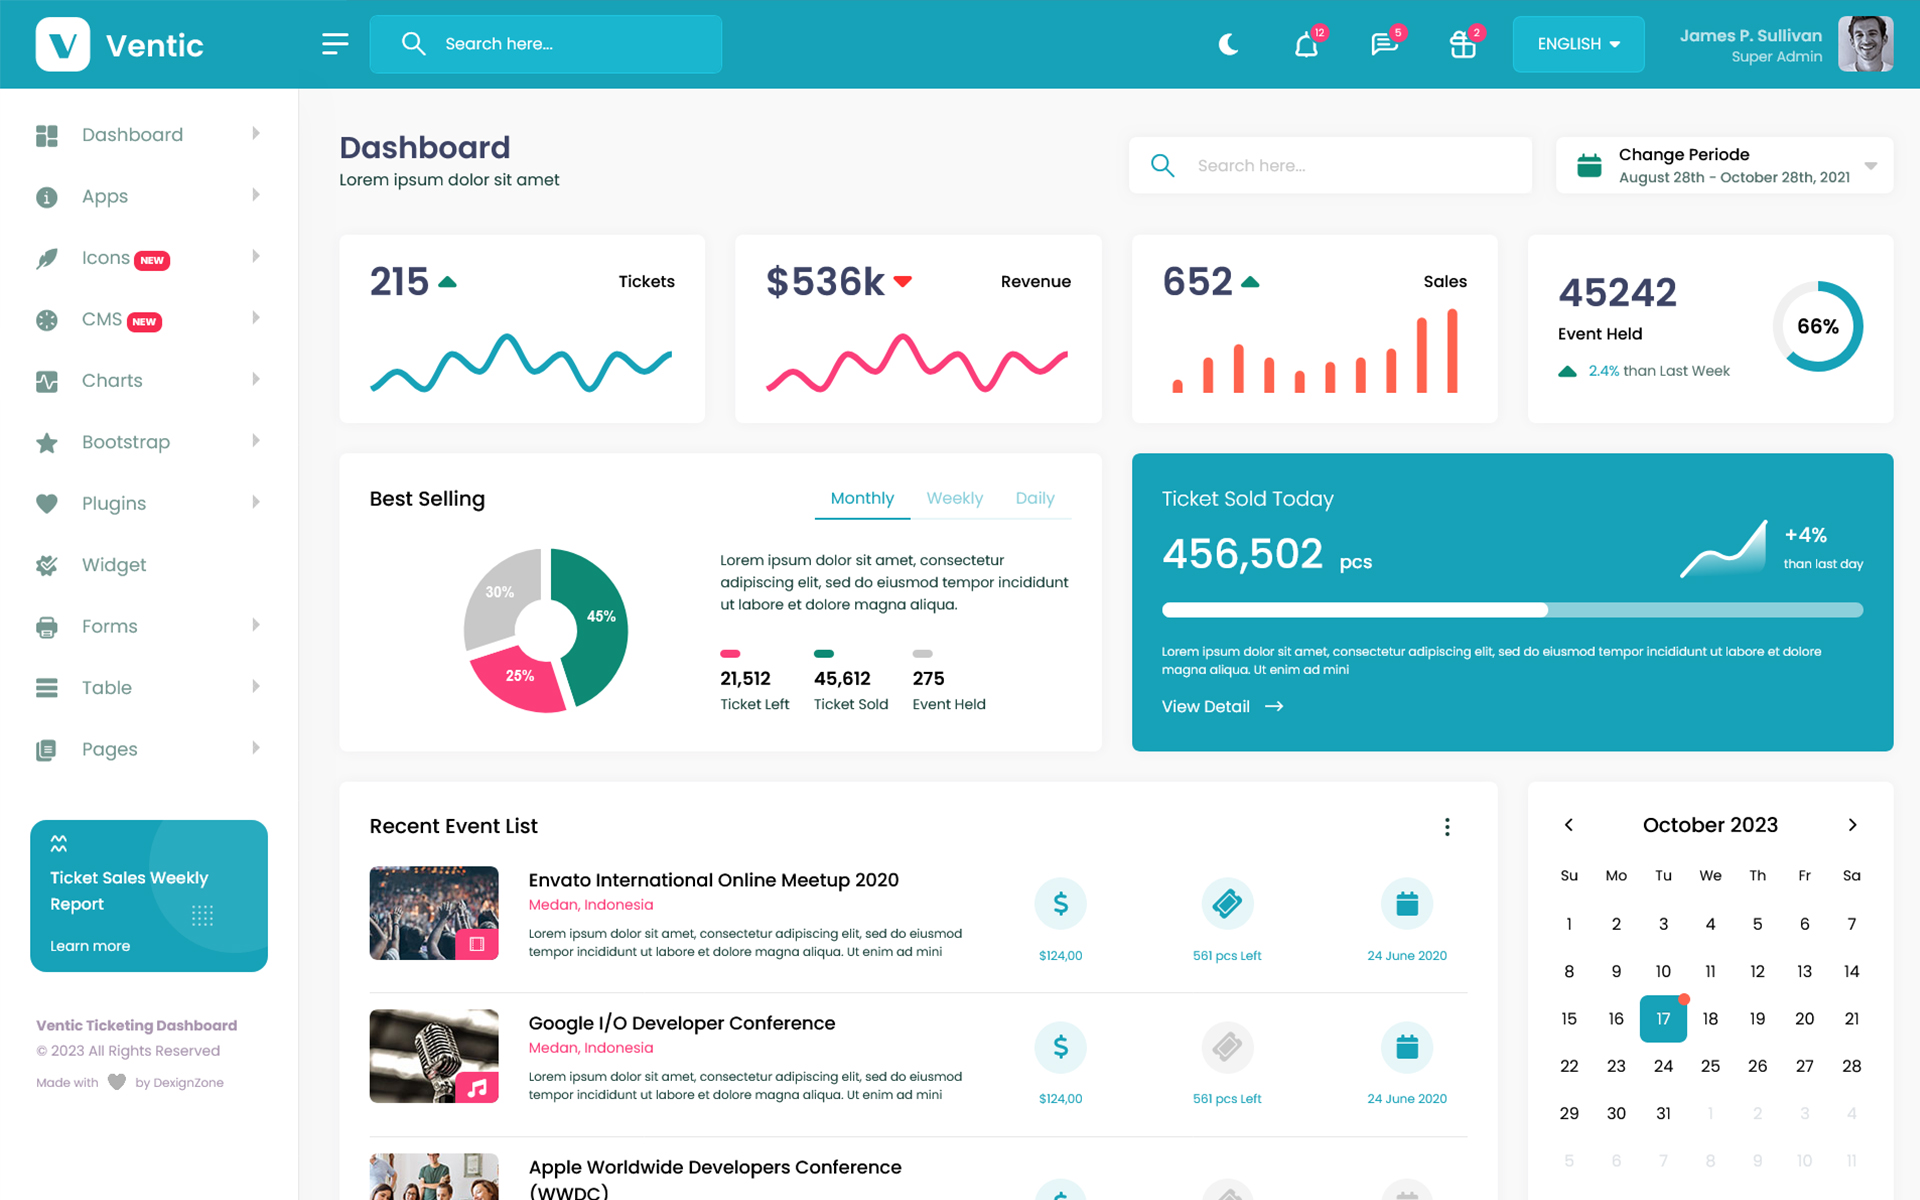
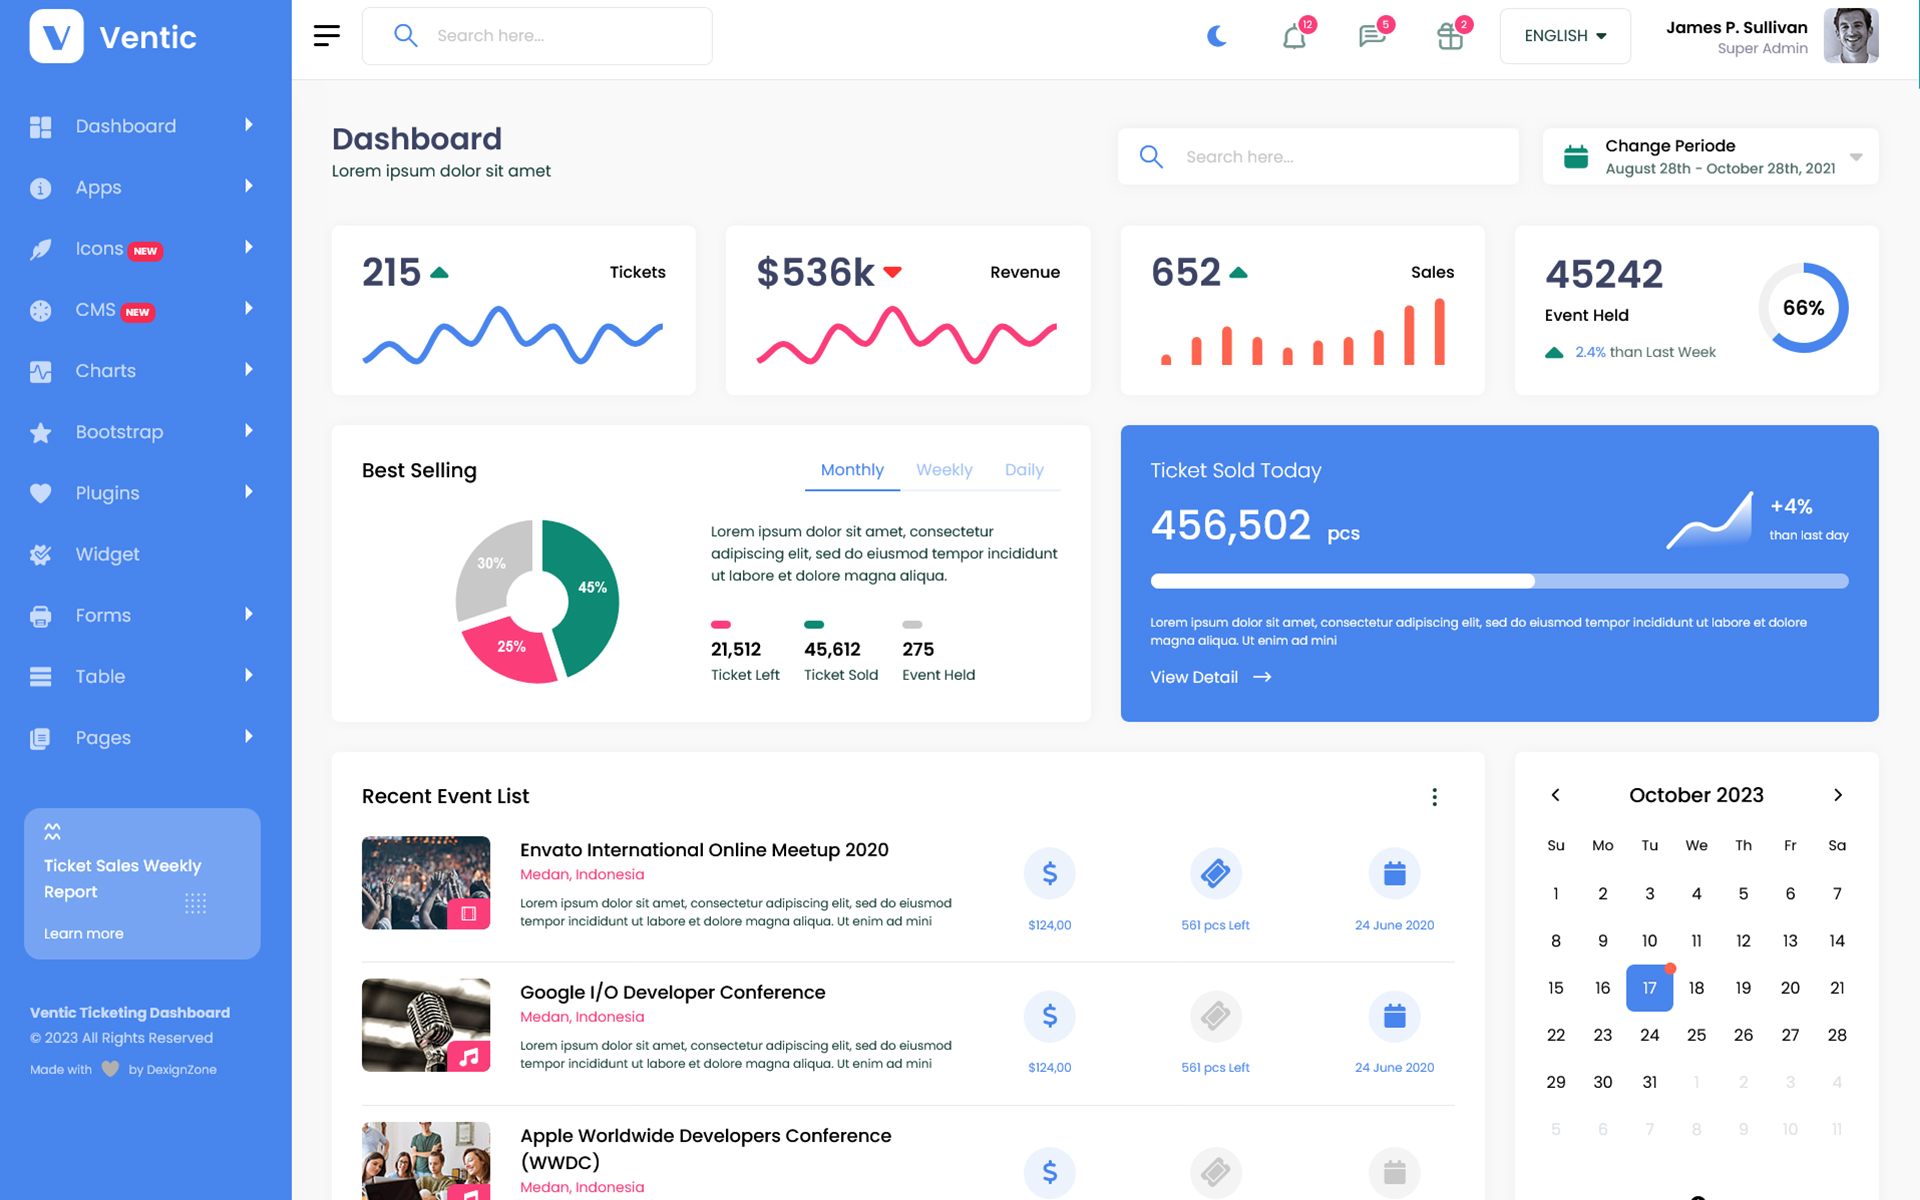
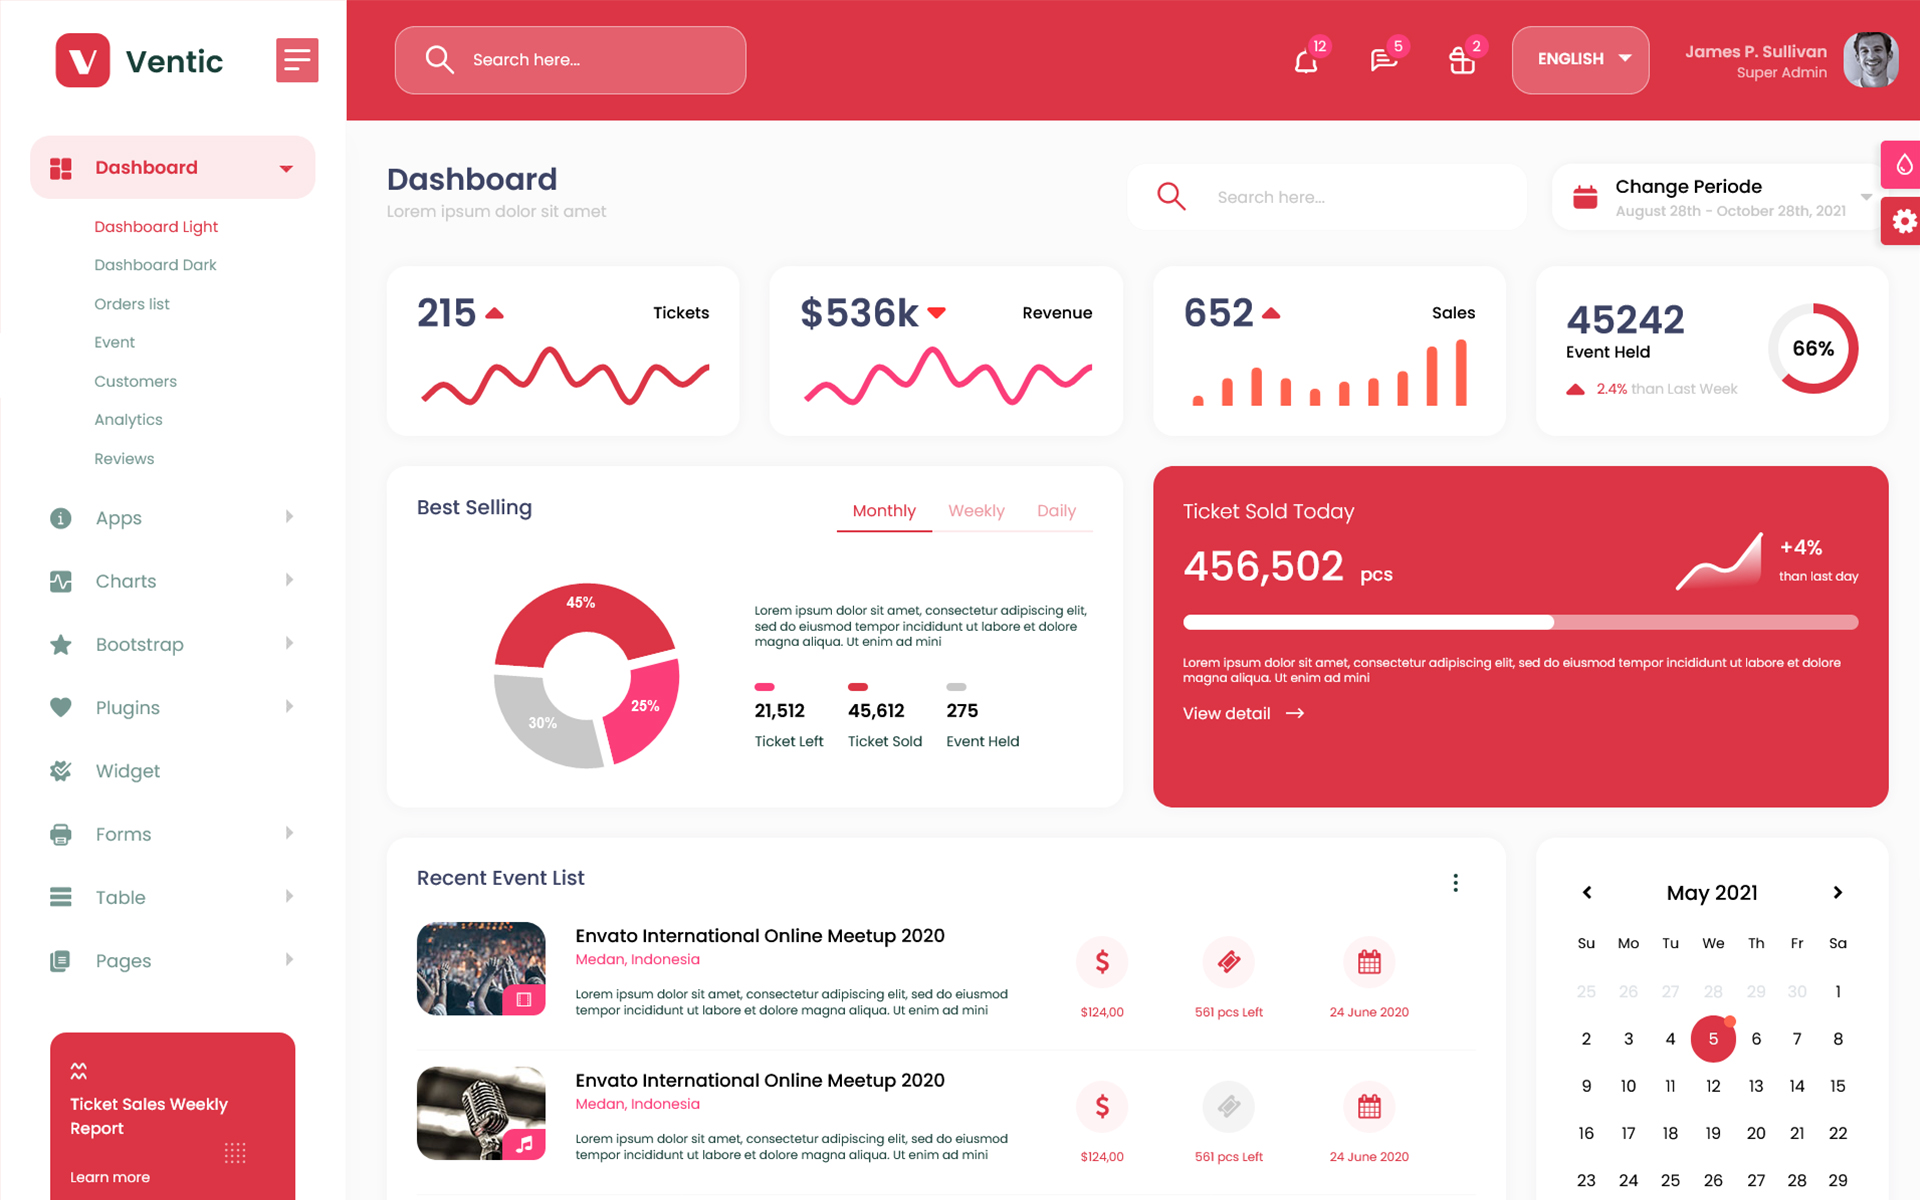
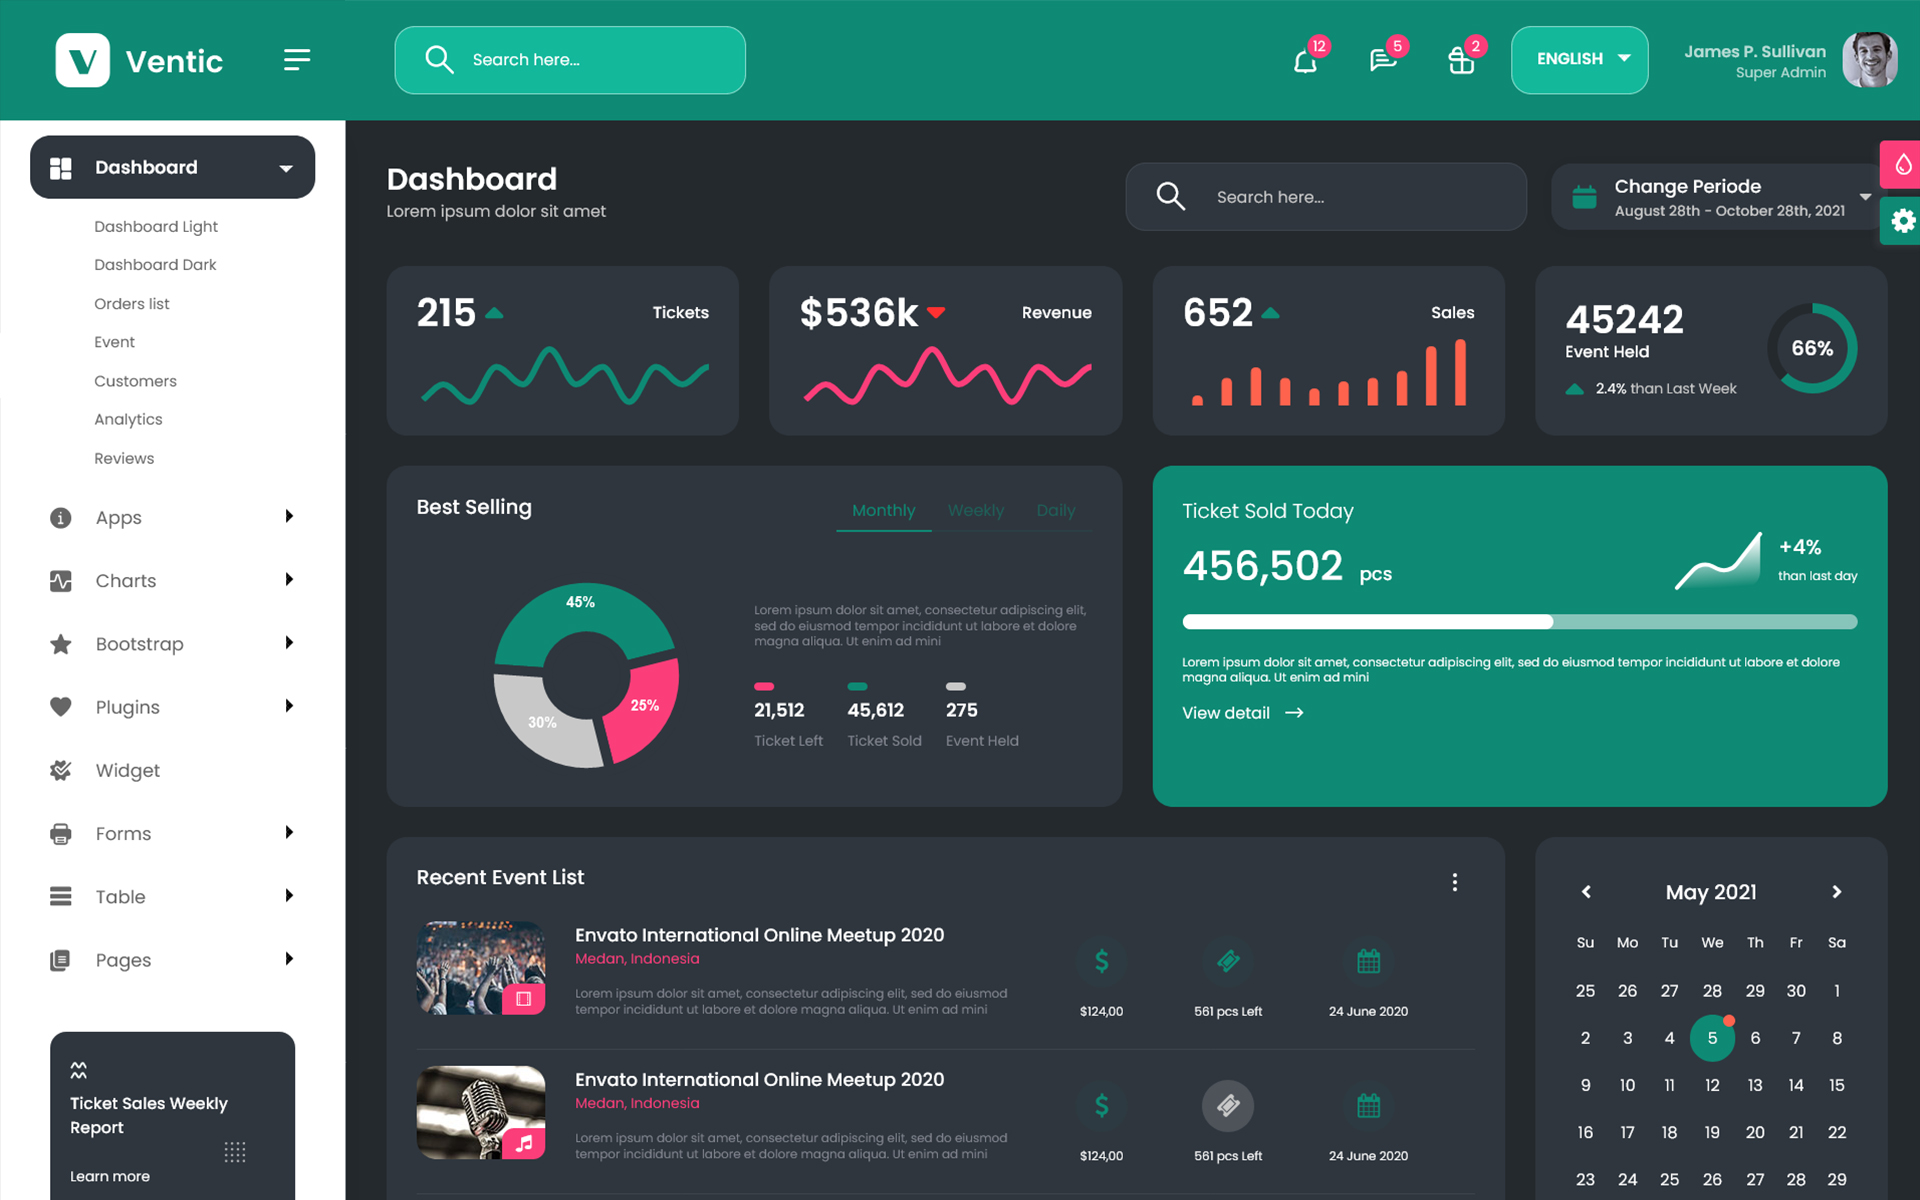
Color Theme -
So many color option available
<body
 data-typography="poppins"
 data-theme-version="light"
 data-layout="vertical"
 data-nav-headerbg="color_10"
 data-headerbg="color_10"
 data-sidebar-style="full"
 data-sidebarbg="color_1"
 data-sidebar-position="fixed"
 data-header-position="fixed"
 data-container="wide"
 data-primary="color_10"
 direction="ltr"
>
<body
 data-typography="poppins"
 data-theme-version="light"
 data-layout="vertical"
 data-nav-headerbg="color_14"
 data-headerbg="color_1"
 data-sidebarbg="color_14"
 data-sidebar-style="full"
 data-sidebar-position="fixed"
 data-header-position="fixed"
 data-container="wide"
 data-primary="color_14"
 direction="ltr"
>
<body
 data-typography="poppins"
 data-theme-version="light"
 data-layout="horizontal"
 data-nav-headerbg="color_5"
 data-headerbg="color_5"
 data-sidebarbg="color_1"
 data-sidebar-style="full"
 data-sidebar-position="static"
 data-header-position="fixed"
 data-container="wide"
 data-primary="color_5"
 direction="ltr"
>
<body
 data-typography="poppins"
 data-theme-version="light"
 data-layout="vertical"
 data-nav-headerbg="color_15"
 data-headerbg="color_1"
 data-sidebarbg="color_1"
 data-sidebar-style="full"
 data-sidebar-position="fixed"
 data-header-position="fixed"
 data-container="wide"
 data-primary="color_15"
 direction="ltr"
>
<body
 data-typography="poppins"
 data-theme-version="dark"
 data-layout="vertical"
 data-nav-headerbg="color_8"
 data-headerbg="color_1"
 data-sidebarbg="color_8"
 data-sidebar-style="full"
 data-sidebar-position="fixed"
 data-header-position="fixed"
 data-container="wide"
 data-primary="color_15"
 direction="ltr"
>
Credits -
-
React Redux
-
Google fonts are used in the template.
-
Font Awesome
-
All Images are used
-
Bootstrap
-
Datatables
-
React Table
-
Full Calendar
-
Sparkline
-
Chartjs
-
Apexchart
-
Sweet Alert
-
Light Gallery
-
CkEditor
-
Uc Select2
-
Chatbox
-
Router
Project Main Features -
- Redux
- Bootstrap
- Built in SASS
- Fully Responsive
- Ready to used widget
- Detailed Documentation
- Attractive Calendar
- Invoice
- User Profile
- Timeline
- CkEditor
- Form Examples
- Many Charts Options
- Form Validation
- Input Slider
- Advanced Form Elements
- Form Wizard
- Social
- Bootstrap
- Datatable
- Table Sorting
- React Table
- Date Picker
- Dark Mode
- Sweetalert
- Toaster
- Lightbox
- Scroll
- Chatbox
- Router
Index.js Structure
import React from "react";
import ReactDOM from "react-dom/client";
import App from "./App";
import { BrowserRouter } from 'react-router-dom';
import {Provider} from 'react-redux';
import {store} from './store/store';
import reportWebVitals from "./reportWebVitals";
import  ThemeContext  from "./context/ThemeContext";

const root = ReactDOM.createRoot(document.getElementById('root'));
root.render(
<React.StrictMode>
  <Provider store = {store}>
   <BrowserRouter basename='/react/demo'>
    <ThemeContext>
     <App />
    </ThemeContext>
   </BrowserRouter>
  </Provider>
</React.StrictMode>,
);
reportWebVitals();
Create a Page
import React from "react";

export function MyPage() {
  return(
   <h1>Hello!</h1>
  )
}
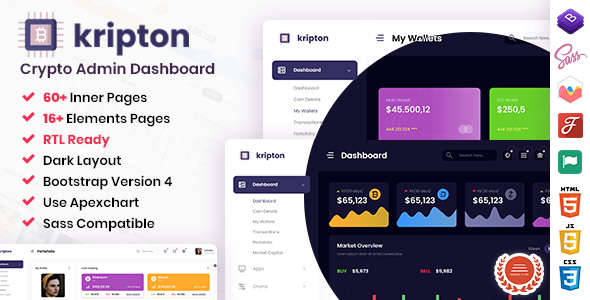
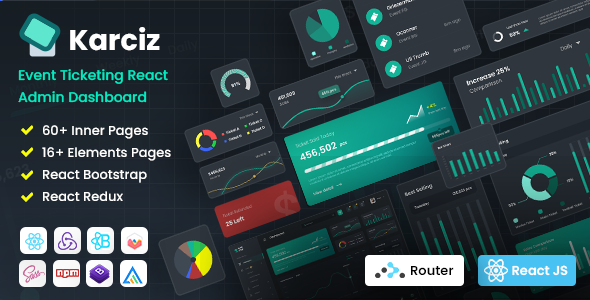
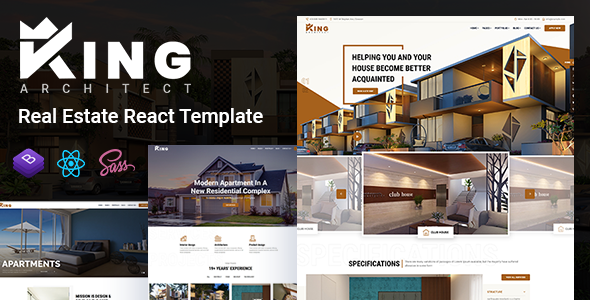
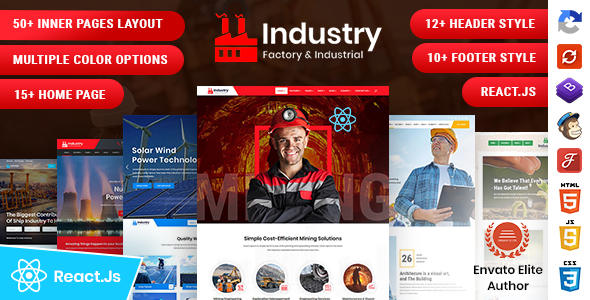
Our Products -


Do You Need Help To Customization
After Purchase A Template...
You Will Start Customizing According Your Requirement
BUT What If You Don't Know
SOLUTION IS HIRE DexignZone
Hire Same Team For Quality Customization
- We Will Customize Template According To Your Requirement
- We Will Upload On Server And Make Sure Your Website is Live
Version History -
01 December 2023
- Compatible with React 18+ & Node 18+
- Update Dependency Plugins
- Update Router Dom 6 Version
- Flaticon integration now available for enhanced design options and resources
- SVG Icon integration now available for expanded design options and resources.
- Feather integration for the best user experiences and design options.
- Included CMS page for Content management system.
- SweetAlert2 for Attractive and customizable pop-up alerts.
- Email pages now features a left sidebar for mobile size.
- Improved Sidebar and Header Style
- Design issues resolved for consistent, polished visuals.
23 September 2021
- New - Created & Upload Ventic